
Looking to beat the summer heat without breaking the bank? In this article, you will discover a step-by-step guide on how to install an AC mini split yourself. Say goodbye to expensive installation fees and hello to cool, refreshing air in your home. Whether you have previous experience or are a complete novice, this DIY project will save you money and provide you with a sense of accomplishment. So, grab your toolbox and get ready to transform your space into a cool oasis in no time!

Gather the necessary tools and materials
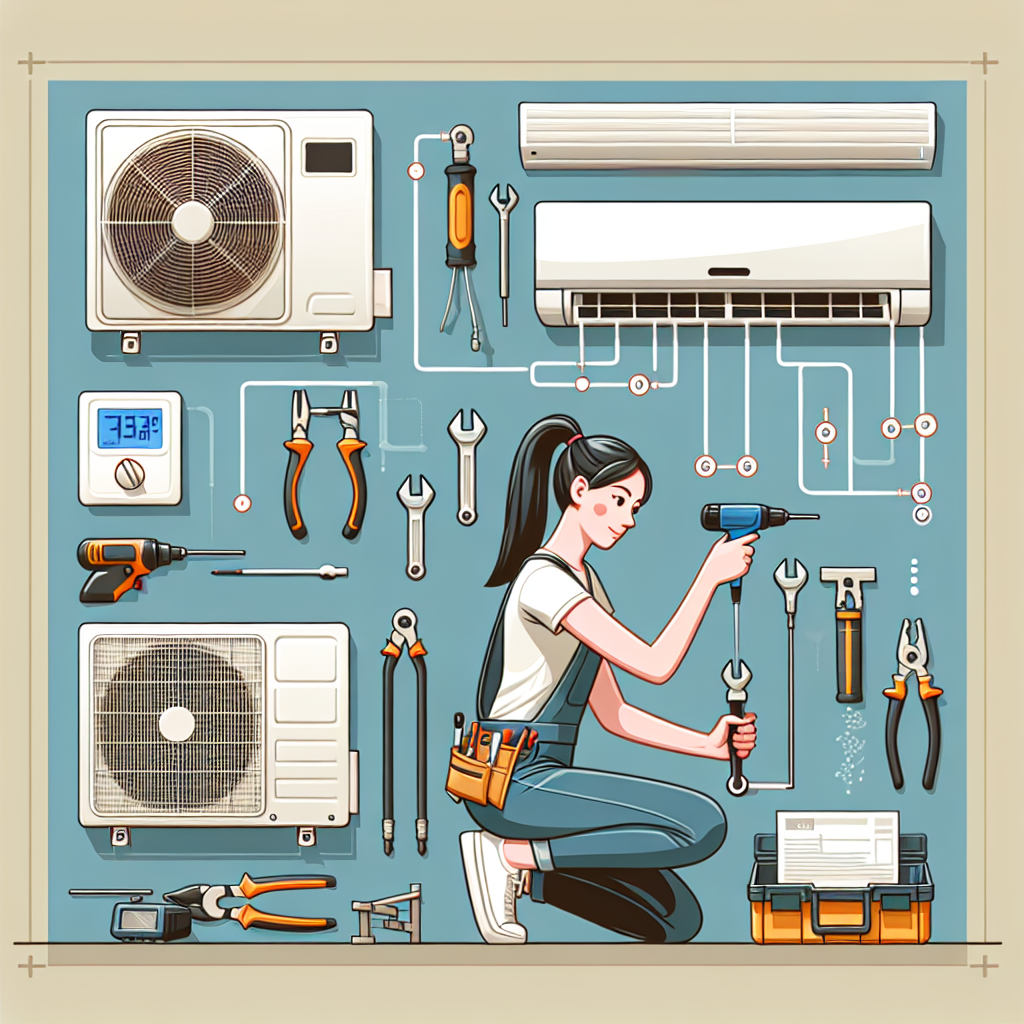
Tools needed
Before you begin installing your AC mini split, it’s essential to gather all the necessary tools. Here are some tools you will need:
- Screwdriver
- Drill
- Measuring tape
- Pliers
- Pipe cutter
- Flaring tool
- Vacuum pump
- Manifold gauge set
- Level
Materials needed
In addition to the tools, you will need these materials to complete the installation:
- Indoor unit
- Outdoor unit
- Mounting brackets
- Refrigerant lines
- Condensate drain line
- Electrical wiring
- Drill bits
- Screws
- Pipe insulation
- Electrical tape
- PVC pipe for drain line
- Refrigerant
Select the location for installation
Determining the ideal location
Choosing the right location for your AC mini split is crucial. Consider these factors to determine the ideal spot:
- Cooling Efficiency: Select an area where the airflow can efficiently cool the room.
- Aesthetics: Choose a location that complements the room’s interior and doesn’t obstruct the view.
- Noise Level: Avoid installing the unit in areas where the noise might be disruptive.
Considering structural requirements
You need to assess the structural requirements before installation. Make sure the walls can support the weight of the indoor and outdoor units, as well as the mounting brackets.
Ensuring proper air circulation
To ensure optimal cooling performance, proper air circulation is essential. Avoid installing the indoor unit near obstructions that could block the airflow, such as curtains or furniture. Instead, choose a location that allows for unrestricted air movement.
Prepare the installation area
Clearing the workspace
Before starting the installation process, it is crucial to clear the workspace. Remove any furniture or obstacles that could impede your progress or potentially get damaged during the installation.
Removing obstacles
Since you’ll be working with power tools and mounting brackets, make sure the area is clear of any unnecessary objects or debris. This will ensure a safe and efficient installation process.
Measuring and marking the mounting points
Measure the distance between the indoor and outdoor units, as well as the height at which you want to mount the indoor unit. Use a leveling tool to ensure accuracy. Mark the mounting points on the wall, taking note of any potential obstructions like electrical wiring or piping.
Install the indoor unit
Determining the wall mounting position
Using the marks you made earlier, determine the precise position for the indoor unit. Ensure that it is at the correct height and level.
Drilling holes for piping and electrical connections
Now that you have determined the mounting position, carefully drill holes in the wall for the refrigerant and condensate drain lines, as well as the electrical wiring. Make sure you choose the appropriate drill bit size to accommodate the size of the lines and wiring.
Mounting the indoor unit
Using the mounting brackets provided, securely attach the indoor unit to the wall. Make sure it is level and tightly fastened.
Connecting the refrigerant and condensate drain lines
Carefully connect the refrigerant and condensate drain lines to the indoor unit. Ensure a secure and leak-free connection. Use pipe insulation to cover the refrigerant lines and protect them from temperature variations.
Running the electrical wiring
Connect the electrical wiring to the corresponding terminals on the indoor unit. Double-check the connections to ensure they are secure. Use electrical tape to cover the exposed wires for added safety.
Install the outdoor unit
Selecting the location for the outdoor unit
Choose a suitable location to install the outdoor unit. It should be close to the indoor unit, yet not obstructed by any obstacles. Consider factors such as noise level and accessibility for maintenance purposes.
Creating a stable base for the unit
To ensure stability and proper functioning of the outdoor unit, create a stable base. This can be done by placing a concrete pad or using mounting brackets specifically designed for outdoor installations.
Mounting the outdoor unit
Securely mount the outdoor unit on the stable base or brackets. Ensure that it is level and firmly attached.
Connecting the refrigerant lines
Connect the refrigerant lines from the indoor unit to the outdoor unit. Again, make sure the connections are tight and leak-free. Use a flaring tool to create a secure connection.
Connecting the condensate drain line
Connect the condensate drain line to the outdoor unit. This will ensure proper drainage of condensation.
Connecting the electrical wiring
Attach the electrical wiring to the outdoor unit. Follow the manufacturer’s instructions to make the correct connections. Ensure that the wires are properly secured and insulated.
Connect the refrigerant lines
Choosing the appropriate refrigerant lines
Select the appropriate size and type of refrigerant lines for your AC mini split system. The size and length of the lines will depend on the specific requirements of your system.
Cutting and flaring the refrigerant lines
Cut the refrigerant lines to the required length using a pipe cutter. Then, use a flaring tool to create a proper flare at the ends of the lines. This will allow for a secure and leak-free connection.
Connecting the refrigerant lines
Connect the refrigerant lines to both the indoor and outdoor units. Ensure that the connections are tight and well-sealed. Once again, use pipe insulation to cover the lines and protect against temperature fluctuations.
Connect the electrical wiring
Preparing the electrical connections
Before connecting the wires, ensure that the power supply is safely switched off. Strip the insulation from the ends of the electrical wires to expose the conductors.
Connecting the wires
Match the colored wires from the indoor and outdoor units according to the manufacturer’s instructions. Twist the exposed conductors together, ensuring a secure connection. Use wire nuts if necessary.
Securing the electrical connections
To protect the electrical connections from moisture and other elements, use electrical tape to secure and insulate the exposed wires. This will ensure the safety and longevity of your AC mini split system.
Condensate drain line installation
Determining the ideal location for the drain line
Choose the ideal location for the condensate drain line. It should be positioned to allow for proper drainage and avoid any potential issues such as water damage or blockages.
Installing the drain line tubing
Cut the PVC pipe to the appropriate length for the condensate drain line. Connect the tubing to the drain port on the indoor unit, ensuring a secure fit. Extend the drain line to the chosen drain location, ensuring a gradual slope for proper drainage.
Creating a proper slope for drainage
To ensure efficient drainage, the condensate drain line should have a gradual slope. This will allow water to flow freely towards the chosen drain location without any obstructions or backflow.
Securing the drain line
Ensure that the condensate drain line is securely fastened in place to prevent any movement or disconnection. Use clamps or straps to secure the line to the wall or other suitable supports.
Vacuum and charge the system
Using a vacuum pump to remove moisture
Before charging the system with refrigerant, it is essential to remove any moisture from the lines. Connect a vacuum pump to the outdoor unit and run it for a sufficient amount of time to evacuate any moisture.
Connecting the manifold gauge set
Attach a manifold gauge set to the service ports on both the indoor and outdoor units. This will allow you to monitor the pressure levels and ensure proper functioning of the system.
Evacuating the system
With the manifold gauge set connected, open the valves and allow the vacuum pump to evacuate the system. Monitor the pressure levels and ensure they stabilize within the recommended range.
Charging the system with refrigerant
Once the system has been properly evacuated, close the valves on the manifold gauge set. Connect the refrigerant canister to the service port on the outdoor unit and charge the system according to the manufacturer’s instructions. Monitor the pressure levels during the charging process to ensure they remain within the recommended range.
Test and troubleshoot the system
Turning on the AC mini split
After completing the installation and charging process, turn on the AC mini split system. Ensure that the indoor and outdoor units are receiving power and that all connections are secure.
Checking for proper cooling and airflow
Once the system is powered on, monitor the cooling performance and airflow. Ensure that the indoor unit is effectively cooling the room and that the airflow is consistent and balanced. Make any necessary adjustments to optimize the cooling efficiency.
Checking for any leaks
Inspect all connections, refrigerant lines, and condensate drain lines for any signs of leaks. Look for moisture, oil stains, or hissing sounds that may indicate a leak. If a leak is detected, you may need to tighten the connections or seek professional assistance.
Troubleshooting common issues
If you encounter any issues with the system, refer to the manufacturer’s troubleshooting guide. Common issues may include insufficient cooling, unusual sounds, or error codes on the display. Follow the recommended steps to troubleshoot and resolve the problem.
By following these step-by-step instructions, you can successfully install your AC mini split system. Remember, if you encounter any difficulties or are unsure about any aspect of the installation, it is always best to consult a professional for assistance. Enjoy the comfort and efficiency of your newly installed AC mini split!