
? Are you deciding which aluminum strut channel will give your structure the strength, durability, and cost-efficiency you need?
Choosing the Right Aluminum Strut Channel for Structural Support
Selecting the correct aluminum strut channel affects safety, longevity, and the total cost of your project. You’ll find clear guidance here to help you choose based on load, environment, installation method, and budget.
What is an aluminum strut channel?
An aluminum strut channel is an extruded framing member used to support mechanical, electrical, and plumbing systems, as well as architectural and structural loads. You’ll use it as a backbone for mounting pipe, cable trays, solar racking, HVAC components, and other equipment where modularity and ease of assembly matter.
Why choose aluminum instead of other metals?
Aluminum gives you several advantages: low weight, good corrosion resistance, electrical and thermal conductivity, and ease of machining. You’ll also find it easier to handle onsite, which reduces labor and the need for heavy lifting equipment. Aluminum’s lower density often means you can achieve the required strength with less dead weight in the structure.
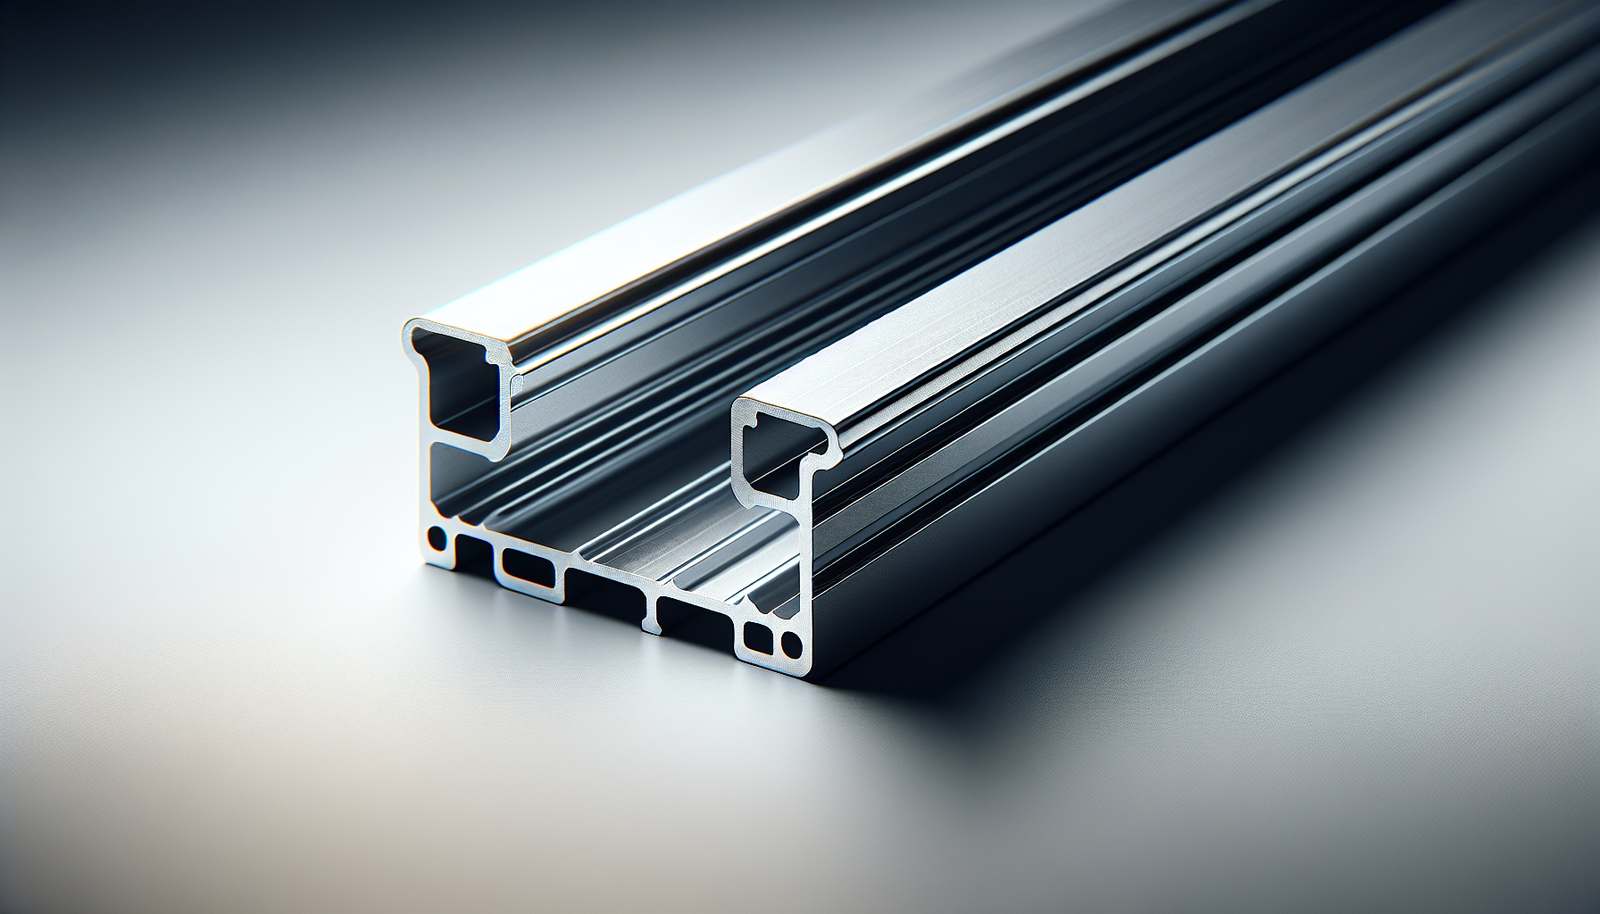
Common profiles and dimensions
Aluminum strut channels come in a few standard profiles: U-channel, C-channel, and hat/channel shapes with different flange widths, slot patterns, and wall thicknesses. You’ll select profiles based on the mounting hardware you plan to use and the load paths you need to support.
Typical profile attributes you’ll see:
- Channel height and flange width (e.g., 41 mm x 41 mm, 41 mm x 21 mm).
- Wall thickness (ranges commonly from 1.5 mm to 3.0 mm).
- Slot type (continuous slot, centered slot, punched slots, or solid/un-slit).
- Internal dimensions for fitting nuts and bolts.
Table: Typical Strut Channel Profiles (reference examples)
| Profile type | Nominal dimensions (mm) | Typical thickness (mm) | Common slot type |
|---|---|---|---|
| Standard U-channel | 41 x 41 | 2.0 | Slotted or punched |
| Narrow U-channel | 41 x 21 | 2.0 | Slotted |
| Mini-channel | 21 x 21 | 1.6 | Slotted |
| Hat/channel | varies | 1.6–3.0 | Solid or slotted |
Note: Exact dimensions vary by manufacturer. Use product datasheets for precise sizing when designing.
Aluminum alloys used for strut channel
You’ll most commonly encounter alloys designed for extrusion and good structural performance. The two most frequent types are 6063 and 6061:
- 6063-T6: Often used for architectural extrusions. It’s easier to extrude into complex shapes and usually has good surface finish and adequate mechanical properties for light to moderate structural loads.
- 6061-T6: Stronger than 6063 and used where higher strength is required. It’s a good option when you need better yield and tensile strength.
When choosing an alloy, you’ll consider strength, weldability, finish quality, and cost. 6063 is often cheaper and ideal for many strut channel applications; choose 6061 if your load or safety factor demands higher strength.
Surface finishes and corrosion protection
Aluminum offers natural oxide protection, but finish options increase durability and aesthetics. You’ll commonly see:
- Mill finish (no additional surface treatment) — economical but shows fingerprints and can oxidize over time.
- Anodized — improves corrosion resistance and gives a uniform appearance. Especially useful outdoors or in mildly corrosive environments.
- Powder coat or paint — provides color and extra protection; consider in aggressive environments or for branding.
- Chemical conversion coatings (e.g., chromate) — improve paint adhesion and provide extra corrosion protection.
Table: Finishes and practical considerations
| Finish | Benefits | Typical use cases |
|---|---|---|
| Mill finish | Lowest cost, basic protection | Indoor, non-critical installations |
| Anodized | Enhanced corrosion resistance, durable surface | Outdoor, exposed architectural uses |
| Powder coat | Color options, additional barrier | Decorative or corrosive environments |
| Chromate conversion | Paint adhesion, short-term protection | Pre-painted applications |
Structural properties you need to understand
You’ll need a grasp of elastic modulus, yield strength, ultimate tensile strength, section modulus, moment of inertia, and how these parameters determine deflection and bending stress. Important values to remember for aluminum:
- Elastic (Young’s) modulus: about 69 GPa (10,000 ksi).
- Yield and tensile strengths: vary by alloy and temper (check manufacturer datasheets).
Note: Aluminum’s modulus is about one-third that of steel, so you’ll see greater deflection for the same cross-section and load. You’ll compensate by choosing larger cross-sections or closer support spacing when necessary.
How to estimate load capacity and deflection
You’ll estimate structural performance by treating the channel as a beam (or as members in a framed assembly) and using standard beam formulas:
- Maximum bending stress: sigma = M * c / I
- where M is the internal bending moment, c is the distance from neutral axis to extreme fiber, and I is the second moment of area.
- For a simply supported beam with uniform load w over span L: maximum moment M_max = w * L^2 / 8.
- Deflection for simply supported beam with UDL: delta_max = 5 * w * L^4 / (384 * E * I).
Practical note: section properties (I and section modulus S = I/c) depend on the precise profile of your channel. Use manufacturer section tables to get correct values. When in doubt, increase safety factors or consult a structural engineer.
Example (illustrative only)
- Suppose you have a channel with section modulus S = 1.0 × 10^-5 m^3 (check product data for real value). If allowable bending stress for the alloy is 120 MPa:
- Maximum bending moment M_allow = sigma_allow * S = 120e6 * 1.0e-5 = 1200 Nm.
- For a simply supported beam with centered load P, M_max = P * L / 4. If L = 2.0 m, then allowable P = 4 * M_allow / L = 4 * 1200 / 2 = 2400 N. This example is for illustration—always verify with real section properties and safety factors appropriate to your project.
Design factors and safety margins
You’ll choose safety factors based on application criticality and codes: higher safety factors for human safety or seismic zones, lower for non-critical supports. Typical design practices include:
- Factor of safety (FS) between 1.5 and 3 for non-life-safety structures.
- Increased FS for variable or impact loads.
- Allowable deflection criteria, often set as L/360 or L/240 depending on service.
Environmental considerations
Consider the environment where you’ll use the channel:
- Marine or coastal environments: anodized or specially coated aluminum and high-grade alloys are recommended to resist pitting and galvanic corrosion.
- Chemical exposure: some acids and alkalis attack aluminum—select compatible alloys and coatings.
- Temperature extremes: aluminum retains strength at moderate elevated temperatures, but you’ll need to check temper and alloy behavior if temperatures exceed about 80°C (176°F).
Corrosion and galvanic compatibility
You’ll need to prevent galvanic corrosion when aluminum contacts dissimilar metals, especially steel or copper. To avoid issues:
- Use insulating washers or barriers between metals.
- Choose compatible fasteners (stainless steel or anodized aluminum hardware).
- Use coatings that prevent direct contact when different metals are unavoidable.
Table: Dissimilar metal compatibility summary
| Contact pair | Risk level | Mitigation |
|---|---|---|
| Aluminum + stainless steel | Low to moderate | Use isolation, appropriate sealants |
| Aluminum + carbon steel (bare) | High in wet environments | Apply isolation, use protective coatings |
| Aluminum + copper | Moderate to high | Use insulating layers or compatible finishes |
Fasteners and channel hardware
Aluminum strut channel works with a range of modular accessories: channel nuts, spring nuts, beam clamps, pipe clamps, end caps, connectors, and brackets. Choose hardware to match the slot shape and size. For best performance you’ll:
- Use spring nuts that lock into the channel slot for easy adjustment.
- Select bolt grades compatible with aluminum; stainless hardware is common to resist corrosion.
- Consider torque limits—aluminum threads strip easier than steel, so follow torque recommendations and consider inserts or backing plates where necessary.
Joining methods: bolting, welding, and adhesives
You’ll typically assemble aluminum strut systems with mechanical fasteners. Welding is possible on alloys like 6061 but requires skill and proper technique; welding can affect temper and reduce strength unless post-weld heat treatment is applied, which is rarely practical in field conditions. Adhesives and rivets are alternatives for non-structural or secondary attachments but consult manufacturer guidance for load-bearing uses.
Thermal expansion and movement joints
Aluminum expands more than steel: coefficient of thermal expansion around 23 × 10^-6 /°C. For long runs or variable temperature environments you’ll accommodate movement to avoid stress buildup:
- Include expansion joints or sliding connections where channel runs are long.
- Avoid over-constraining to bodies that expand at different rates (e.g., concrete).
Installation best practices
Good installation reduces future problems. You’ll follow these practices:
- Check straightness and level during installation to avoid introducing bending stresses.
- Use appropriate anchor types for the substrate (concrete anchors, toggle bolts, chemical anchors).
- Torque fasteners to recommended values and avoid over-tightening which can distort extrusions.
- Use thread locking where vibration is expected, but ensure compatibility with aluminum surfaces.
Cutting, drilling, and on-site fabrication
Aluminum is easy to cut and machine, but you’ll use the right tools and techniques:
- Use carbide or high-speed steel blades with proper feed rates to avoid burrs.
- Deburr and chamfer holes to reduce stress risers.
- When drilling near edges, use backing material to prevent tear-out.
- Protect finishes during fabrication to limit surface damage and corrosion risk.
Standards and certifications to check
When specifying channel you’ll reference common standards to ensure material and manufacturing quality:
- ASTM B221 — covers aluminum alloy extrusions (general extruded shapes).
- EN 755 — European standard for aluminum and aluminum alloy extruded rod/bar/section/profiles.
- Manufacturer product datasheets — essential for section properties, alloy, temper, and allowable loads.
Always confirm which standard the product conforms to and request test certificates if required for critical applications.
Comparing aluminum strut channel with steel and stainless steel
Aluminum isn’t always the best choice; compare trade-offs depending on your priorities.
Table: Material comparison at a glance
| Property | Aluminum | Carbon steel (galvanized) | Stainless steel |
|---|---|---|---|
| Density (relative) | Low (lightweight) | High | High |
| Strength (per unit area) | Moderate | High | High |
| Corrosion resistance | Good naturally; improved with coatings | Good with galvanizing | Excellent |
| Ease of fabrication | Very good | Good | Moderate |
| Cost | Moderate | Low to moderate | High |
| Magnetic | Non-magnetic | Magnetic | Usually non-magnetic (austenitic) |
| Galvanic concerns | Higher when contacting some metals | Lower compatibility with aluminum | Good with most metals |
You’ll choose aluminum if lightweight and corrosion resistance are top priorities. Choose steel for highest strength at lowest cost, and stainless when corrosion resistance is paramount and budget allows.
Common applications and use-cases
You’ll find aluminum strut channel in a wide variety of contexts:
- Electrical installations: mounting cable trays, conduit, and electrical boxes.
- HVAC: supporting ductwork and equipment.
- Solar mounting: rooftop racks and ground-mounted arrays where weight matters.
- Plumbing and Piping supports: especially where environmental corrosion is a concern.
- Mechanical framing and light structural supports: for modular systems. Each application will have its own load and environmental requirements, so you’ll tailor your choice accordingly.
Cost considerations and lifecycle value
Upfront material cost matters, but lifecycle cost is often more important. Aluminum can cost more than painted steel but offers savings in installation labor, maintenance, and corrosion repairs. You’ll include:
- Material cost per linear meter.
- Hardware and coating costs.
- Installation time and labor.
- Expected maintenance intervals. Calculate total cost of ownership rather than buying by price per meter alone.
Procurement and supplier selection
When you buy, consider:
- Manufacturer reputation and product warranties.
- Availability of machining and custom lengths.
- Accessory ecosystem: availability of compatible nuts, fittings, and brackets.
- Lead times and stock levels for large projects. Request datasheets and load tables, as well as references or case studies for similar projects.
Inspection, maintenance, and troubleshooting
Once installed, you’ll maintain the system with periodic checks:
- Inspect fasteners for loosening, especially in vibrating environments.
- Look for signs of corrosion or wear at contact points with other metals.
- Replace damaged or deformed channels to maintain structural integrity.
- Re-tighten to specified torque and reapply protective coatings if needed.
When to engage a structural engineer
You’ll involve a structural engineer for:
- Load-bearing or life-safety applications.
- Dynamic or cyclic load environments.
- Complex multi-span or cantilevered layouts.
- Situations involving building codes, seismic design, or unusual materials. Engineers will ensure that your selection meets load cases, deflection limits, and regulatory requirements.
Example selection workflow (step-by-step)
You can follow this practical workflow when selecting a channel:
- Define required loads (static, dynamic, point loads, uniform loads).
- Determine span lengths and support spacing.
- Choose candidate channel profiles based on mechanical needs and accessory fit.
- Check manufacturer section properties (I, S) and allowable stresses for the alloy and temper.
- Calculate bending stresses and deflection for worst-case scenarios.
- Select hardware and anchoring system compatible with substrate and environment.
- Add corrosion and environmental mitigations (coating, isolation).
- Validate with a structural engineer if required.
- Procure material and schedule installation plus inspection checkpoints.
Frequently asked questions
You’ll find these answers helpful for common concerns:
-
Can you weld aluminum strut channel onsite?
- You can weld certain alloys, but welding changes the temper and typically reduces strength near the weld. Mechanical fasteners are preferred for modular systems.
-
How do you choose between slotted and solid channels?
- Slotted channels give you adjustability; solid channels are slightly stiffer and are used where adjustability isn’t required or where slotting would reduce strength below required limits.
-
What anchor should you use in concrete?
- Consider adhesive anchors for higher capacities, mechanical expansion anchors for quick installation, and ensure anchor spacing and edge distances match load demands.
-
How do you prevent galvanic corrosion with steel fasteners?
- Use insulating materials, protective coatings, or select compatible fasteners like stainless steel or coated bolts.
Final selection checklist
Before finalizing your purchase, run through this checklist:
- Have you defined all load cases (including live, dead, wind, and seismic)?
- Did you verify section properties from the manufacturer?
- Is the chosen alloy and finish appropriate for the environment?
- Are fasteners and accessories compatible and corrosion-resistant?
- Have you factored in thermal movement and expansion?
- Did you include an adequate safety factor and deflection criteria?
- Have you arranged for inspection and maintenance planning?
Summary and next steps
You’ll make the best choice by balancing load needs, environmental exposure, installation constraints, and budget. Use manufacturer data for section properties, confirm alloy and finish suitability, and consult a structural engineer for critical systems. Once you’ve chosen a candidate profile, verify compatibility with maintenance practices, fasteners, and mounting hardware before placing your order.
If you want, you can provide the expected loads, span lengths, and environment and I’ll help you narrow down candidate channel profiles and finishes for your application.