
Thinking about installing a ductless mini split AC unit in your home? Look no further! This article will provide you with a comprehensive guide on how to successfully install one. Whether you’re a seasoned DIYer or a beginner, we’ve got you covered. From choosing the right location to properly connecting the refrigerant lines, we’ll walk you through the whole process step by step. By the end of this article, you’ll have all the knowledge and confidence you need to tackle this project and enjoy a cool and comfortable space all summer long.
Preparation
Before you begin installing a ductless mini split AC unit, it’s important to gather the necessary tools. You will need a drill, a level, a tape measure, a wrench, a vacuum pump, and a refrigerant charging kit. Make sure you have all these tools handy before starting the installation process.
Next, choose the right location for your indoor unit. Look for a place on the wall that is away from direct sunlight and any heat sources. It should also be a location that allows for proper airflow and easy access for maintenance and cleaning.
Once you have chosen the location, check the electrical requirements. Ensure that you have the appropriate electrical connections nearby so that you can easily connect your AC unit and power it up without any issues.
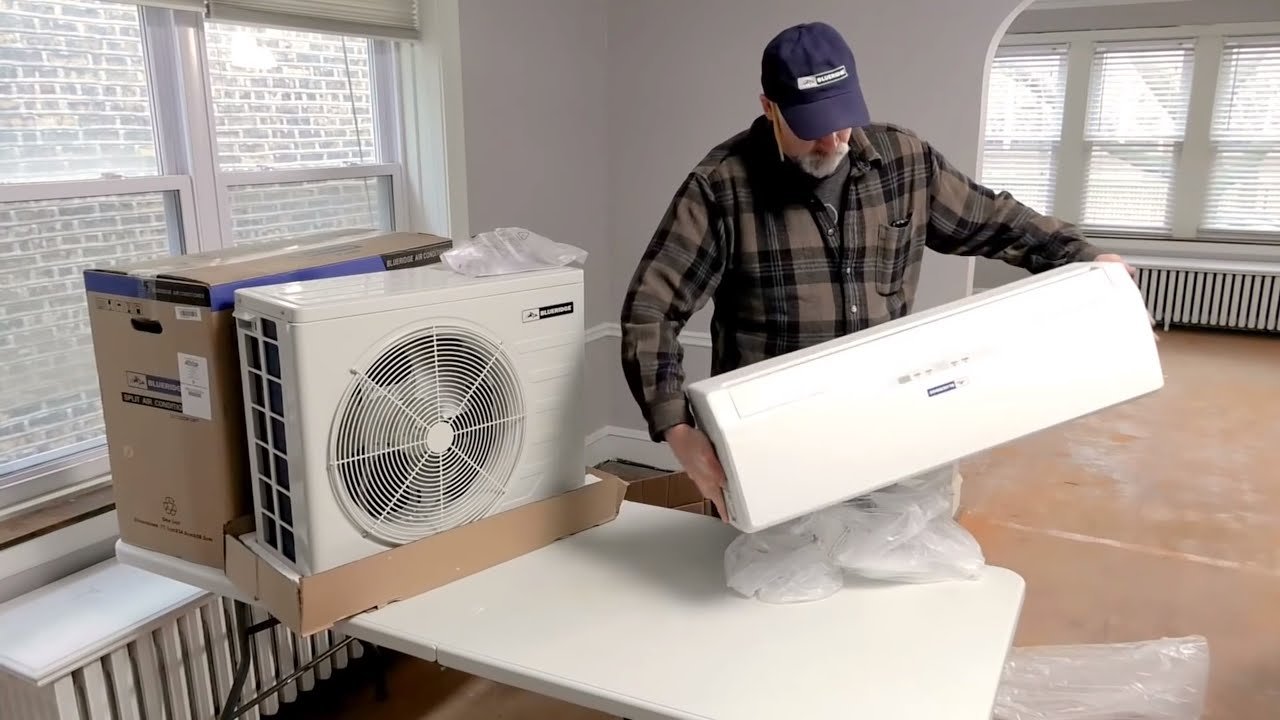
Selecting the Unit
To select the right ductless mini split AC unit for your needs, you will need to determine the size of the unit. Consider the square footage of the room or area where you will be installing the unit. This will help you determine the BTU requirements for effective cooling.
In addition to the size, make sure to evaluate the energy efficiency ratings of the unit. Look for units with high energy efficiency ratios (EER) and Seasonal Energy Efficiency Ratios (SEER). These ratings indicate how efficiently the unit uses energy and can help you save on your electricity bills in the long run.

This image is property of i.ytimg.com.
Installing the Indoor Unit
To install the indoor unit of your ductless mini split AC, first find a suitable location on the wall. Make sure it meets the requirements mentioned earlier. Once you have found the ideal spot, mark it for installation using a pencil or a marker.
Next, drill a hole for the refrigerant lines. This hole will allow you to connect the indoor and outdoor units. Make sure to measure and mark the appropriate location for the hole to ensure a proper fit.
Now, it’s time to mount the unit on the wall. Use a level to ensure that it is straight and secure it in place using the provided mounting hardware. Once the unit is securely mounted, you can connect the refrigerant lines by following the manufacturer’s instructions. Also, remember to connect the electrical wires, making sure to adhere to the electrical requirements.
Finally, attach the condensate drain to the unit. This drain will ensure that any excess moisture is properly removed from the indoor unit, preventing any potential water damage.
Installing the Outdoor Unit
Finding an appropriate outdoor location for your unit is crucial. Look for a flat surface that can support the weight of the outdoor unit. Make sure it is away from any obstructions, such as trees or shrubs, that could impede airflow.
Once you have found the right location, secure the unit on the flat surface using the provided brackets or mounting equipment. This will ensure stability and prevent any vibrations or movement during operation.
Now, it’s time to connect the refrigerant lines. These lines will carry the refrigerant between the indoor and outdoor units. Connect them according to the manufacturer’s instructions, ensuring a tight and secure fit.
Similar to the indoor unit, connect the electrical wires to the outdoor unit. Again, follow the electrical requirements and the manufacturer’s instructions to ensure a proper connection.
Lastly, ensure proper condensate drainage. The outdoor unit will produce condensation during operation, and you must make sure that it is properly drained away to prevent any water damage. Follow the manufacturer’s instructions for connecting and setting up the condensate drainage system.

This image is property of i.ytimg.com.
Connecting the Units
To connect the indoor and outdoor units, you will need to run the refrigerant lines between them. These lines are usually pre-insulated and come with the unit. Carefully run the lines following the recommended route provided by the manufacturer.
Once you have reached the indoor unit, make the necessary connections according to the manufacturer’s instructions. This will involve attaching the refrigerant lines to the appropriate ports on the indoor unit.
Likewise, make the necessary outdoor unit connections, connecting the refrigerant lines to the appropriate ports. Double-check that all connections are secure and tight to prevent any refrigerant leaks.
Electrical Connections
Before making any electrical connections, it is crucial to shut off the power to the AC unit. Locate the circuit breaker or disconnect switch and turn it off to ensure your safety during the installation process.
Once the power is shut off, install the electrical whip. This whip is a conduit that protects and contains the electrical wires. Connect it to the electrical box according to the manufacturer’s instructions.
Now, it’s time to connect the wires. Follow the wiring diagram provided by the manufacturer, ensuring that the wires are connected to the correct terminals. Take extra care to connect the wires of the same color correctly.
After double-checking all the connections, turn on the power to the AC unit. Make sure to follow any additional instructions provided by the manufacturer.

This image is property of i.ytimg.com.
Vacuum and Testing
To ensure optimal performance and prevent any air or moisture from entering the system, you need to evacuate the lines. Use a vacuum pump to remove any air or moisture from the refrigerant lines. Follow the manufacturer’s instructions to properly evacuate the lines.
Once the lines are vacuumed, it’s time to test for leaks. Use a leak detector or soapy water solution to check all the connections for any signs of leaks. If any leaks are detected, tighten the connections or replace any faulty parts.
Finally, check the refrigerant charge to ensure that it matches the manufacturer’s specifications. Use a refrigerant charging kit and follow the guidelines provided by the manufacturer to check and adjust the refrigerant charge if necessary.
Final Steps
With the installation complete, it’s time to test the controls of your ductless mini split AC unit. Ensure that all the functions, such as temperature control and fan speed, are working properly. Test the remote control if one is included with your unit to ensure that it is functioning as expected.
Take the time to clean both the indoor and outdoor units. Remove any dust or debris that may have accumulated during the installation process. Clean the filters regularly to maintain proper air quality and system efficiency.
Finally, enjoy the cool air provided by your newly installed ductless mini split AC unit. Sit back, relax, and revel in the comfort it brings to your living space.

This image is property of trustacree.com.
Troubleshooting
If you experience any issues after installing your ductless mini split AC unit, it’s important to know the symptoms of improper installation. These can include inadequate cooling, excessive noise, or inconsistent airflow.
To troubleshoot these issues, start by checking the electrical connections to ensure they are secure and properly connected. Also, inspect the refrigerant lines for any leaks or refrigerant charge issues. Clean or replace filters if they are dirty or clogged. If you are unable to resolve the issue, don’t hesitate to contact a professional for assistance.
Safety Precautions
During the installation process, it’s crucial to prioritize safety. Always turn off the power before making any electrical connections or adjustments. This will help prevent any electrical shocks or accidents.
Additionally, use appropriate safety gear such as gloves and safety goggles to protect yourself from any potential hazards. Follow all manufacturer instructions, as they provide important guidelines for a safe and successful installation process.
By following these steps, you can confidently install a ductless mini split AC unit in your home. Enjoy the convenience, energy efficiency, and comfort it brings all year round.

This image is property of www.thermospace.com.