
Have you ever wished you could stay cool during the scorching summer without the hassle of installing a traditional air conditioning unit? Look no further! In this article, we will guide you through the process of building your very own DIY mini split AC unit. With just a few components and some basic tools, you’ll be able to create a compact and efficient cooling system that fits perfectly within your budget. Say goodbye to costly professional installations and hello to a refreshing summer breeze at your fingertips.

Materials Needed
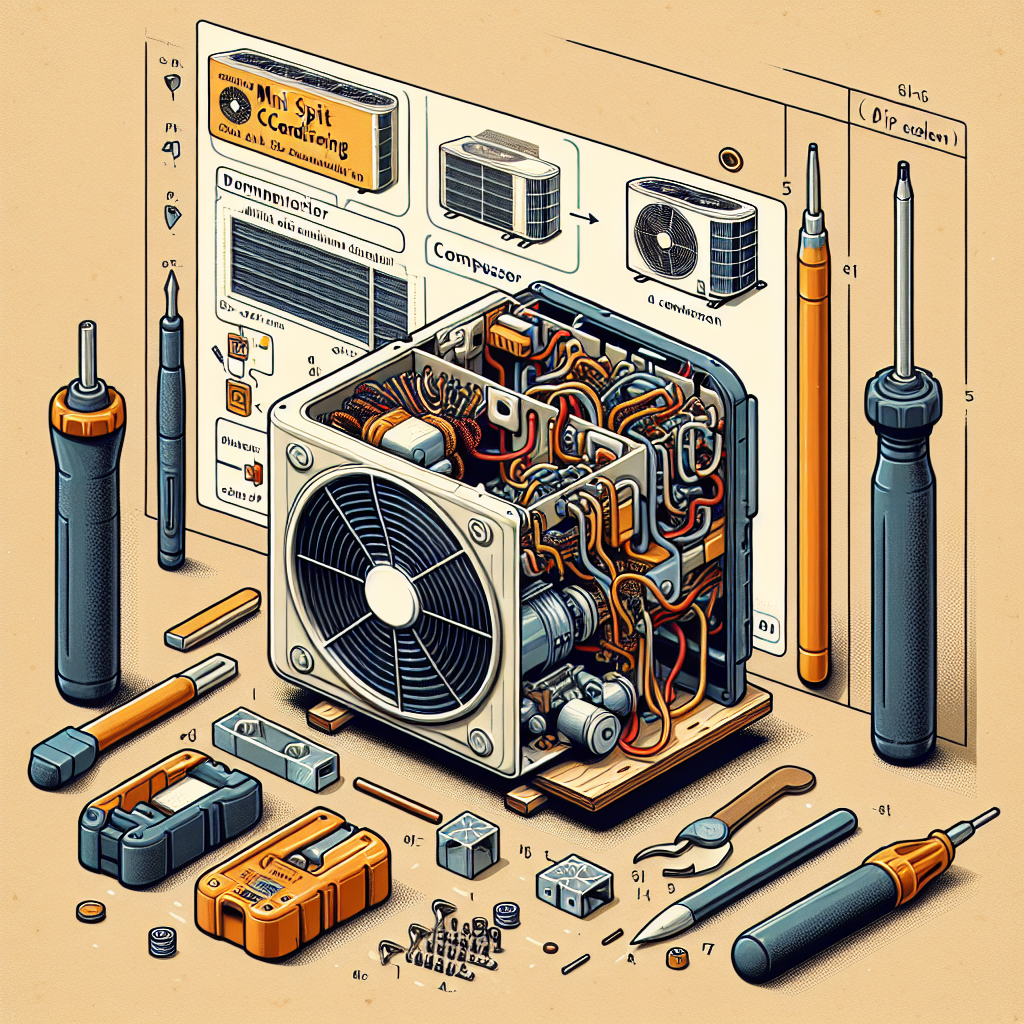
To build a DIY mini split AC unit, you will need the following materials:
Air conditioner unit
The air conditioner unit is the main component of the mini split system. It cools and dehumidifies the air in your home.
Outdoor unit
The outdoor unit houses the compressor and condenser, which are responsible for cooling the refrigerant. It is usually installed outside your home.
Copper tubing
Copper tubing is used to connect the indoor and outdoor units. It carries the refrigerant between the two units.
Insulation
Insulation is important to prevent heat loss or gain in the refrigerant lines. It helps maintain the efficiency of the system.
Mounting brackets
Mounting brackets are used to securely mount the outdoor unit on a wall or other suitable surface.
Power supply
A power supply is necessary to provide electricity to the AC unit. It should meet the electrical requirements of the mini split system.
Thermostat
A thermostat allows you to control the temperature and settings of the AC unit. It is usually installed indoors for easy access.
Drain line
The drain line is used to remove condensate from the indoor unit. It should be properly connected and routed to a suitable drainage point.
Tools
You will need various tools such as a drill, screwdriver, wrench, and other common hand tools to install the mini split AC unit.
Choosing the Right Location
Before installing the mini split AC unit, it’s important to choose the right location. Here are some factors to consider:
Evaluate the size and layout of the room
Consider the size of the room where you want to install the AC unit. Larger rooms may require a more powerful unit to adequately cool the space.
Consider window and door locations
Take note of the location of windows and doors in the room. Avoid installing the indoor unit directly in front of a window or door, as it may obstruct the airflow.
Ensure proper air circulation
Ensure that there is sufficient space around the indoor unit for proper air circulation. Avoid placing the unit too close to walls or furniture that may restrict airflow.
Find a suitable installation spot for the outdoor unit
When selecting a spot for the outdoor unit, choose a location that is easy to access and provides enough airflow. Avoid placing it near obstructions such as fences or shrubs that could impede airflow.
Sizing the AC Unit
To determine the appropriate size of the mini split AC unit, you need to calculate the cooling load of the room.
Calculate the cooling load of the room
The cooling load is the amount of heat that needs to be removed from the room to maintain a comfortable temperature. Factors such as room size, insulation, windows, and occupancy play a role in calculating the cooling load.
Determine the required BTU (British Thermal Unit)
BTU is a measure of cooling capacity. Once you have calculated the cooling load, you can determine the required BTU for the AC unit. It is important to choose a unit with a BTU rating that matches or slightly exceeds the calculated value.
Choose an AC unit with the appropriate BTU rating
Select a mini split AC unit with a BTU rating that matches your cooling load calculation. Choosing an undersized unit may result in insufficient cooling, while an oversized unit may lead to wasted energy and poor humidity control.
Preparing the Installation
Before starting the installation process, it is important to gather all the necessary tools and materials. Here are some steps to prepare for the installation:
Read and understand the manufacturer’s instructions
Carefully read and understand the manufacturer’s instructions provided with the mini split AC unit. Familiarize yourself with the installation process and any specific requirements or guidelines.
Gather all necessary tools and materials
Ensure that you have all the required tools and materials on hand before beginning the installation. This will help make the process smoother and minimize disruptions.
Ensure power supply and circuit requirements are met
Check if your electrical system meets the power supply and circuit requirements of the mini split AC unit. Make any necessary adjustments or consult an electrician if needed.
Turn off the power before starting the installation
Before starting any electrical work, turn off the power to avoid any accidents or electrical shocks. Your safety should always be the top priority.

Installing the Outdoor Unit
Installing the outdoor unit is an important step in the mini split AC installation process. Here’s how you can do it:
Choose a suitable location for the outdoor unit
Select a suitable location for the outdoor unit, keeping in mind the manufacturer’s recommendations. Ensure that the area is well-ventilated and free from obstructions.
Install mounting brackets securely
Attach the mounting brackets to the wall or chosen surface, ensuring they are securely fastened. The brackets should be level and able to support the weight of the outdoor unit.
Connect the copper tubing to the outdoor unit
Connect the copper tubing to the outdoor unit according to the manufacturer’s instructions. Use the appropriate fittings and ensure a tight seal to prevent any refrigerant leaks.
Insulate the tubing to prevent heat loss
Apply insulation to the copper tubing to prevent heat loss or gain. Poor insulation can reduce the efficiency of the system and lead to energy wastage.
Installing the Indoor Unit
Once the outdoor unit is in place, it’s time to install the indoor unit. Follow these steps:
Position and mount the indoor unit
Choose a suitable location for the indoor unit, typically high on a wall for optimal air distribution. Use the mounting brackets provided and ensure that the unit is securely fastened.
Drill a hole through the wall for the copper tubing and drain line
Drill a hole through the wall behind the indoor unit to route the copper tubing and drain line. Take care to position the hole correctly and seal any gaps to prevent air leakage.
Connect the tubing and drain line to the indoor unit
Connect the copper tubing and drain line to the indoor unit as directed by the manufacturer. Ensure a proper connection and use any necessary fittings to create a secure seal.
Securely fasten the unit to the wall
Once the connections are made, securely fasten the indoor unit to the wall using the provided screws or brackets. Make sure it is level and stable to prevent any accidents or damage.
Connecting the Units
After installing both the indoor and outdoor units, it’s time to connect them together. Here’s how:
Route the copper tubing and drain line through the hole in the wall
Carefully route the copper tubing and drain line through the hole you drilled in the wall. Make sure they are properly aligned and not kinked or damaged.
Connect the tubing and line to the outdoor unit
Connect the copper tubing and drain line to the appropriate ports on the outdoor unit. Ensure a secure and tight connection, using any necessary fittings or connectors provided.
Ensure proper insulation and sealing
Inspect the connections and ensure that they are properly insulated and sealed. Use insulation tape or foam to prevent any air leakage or heat loss. Proper insulation is crucial for the system’s efficiency.
Electrical Connections
The electrical connections are the final step in the installation process. Follow these guidelines:
Follow the manufacturer’s instructions for wiring
Carefully follow the manufacturer’s instructions for wiring the mini split AC unit. Incorrect wiring can lead to electrical issues or damage.
Connect the power supply to the outdoor unit
Connect the power supply to the correct terminals on the outdoor unit. Double-check the connections and ensure they are secure and properly insulated.
Install the thermostat and connect the wiring
Install the thermostat according to the manufacturer’s instructions, usually at a convenient location indoors. Connect the wiring between the thermostat and the indoor unit, following the provided diagrams.
Test the electrical connections
Before turning on the power, thoroughly test all electrical connections and ensure they are functioning correctly. This will help avoid potential issues or malfunctions.
Testing and Maintenance
Once the mini split AC unit is installed, it’s important to test its performance and perform regular maintenance. Here’s what to do:
Check for refrigerant leaks
After the installation, check for any refrigerant leaks around the connections and joints. Leaks can lead to reduced cooling performance and increased energy consumption. Address any leaks immediately.
Test the system’s cooling performance
Turn on the mini split AC unit and test its cooling performance. Ensure that it is able to reach and maintain the desired temperature in the room. Observe any abnormal noises or vibrations.
Monitor the system for any issues or malfunctions
Keep an eye on the system for any signs of malfunction, such as uneven cooling, excessive noise, or water leaks. Promptly address any issues to prevent further damage.
Perform regular maintenance to keep the unit in good condition
Regularly clean or replace air filters to maintain proper airflow and efficiency. Clean the outdoor unit and remove any debris or obstructions. Schedule professional maintenance as recommended by the manufacturer.
Troubleshooting Tips
In case of any issues with your DIY mini split AC unit, here are some troubleshooting tips:
Check the power supply and circuit breaker
If the unit is not turning on, check if it is properly connected to the power supply. Ensure that the circuit breaker is not tripped and that there is no power outage in your area.
Inspect and clean the air filters
Dirty air filters can restrict airflow and reduce cooling performance. Regularly inspect and clean or replace the air filters as needed to maintain optimal operation.
Ensure proper airflow and ventilation
Check for any obstructions or blockages that may be impeding airflow around the indoor or outdoor unit. Proper airflow is essential for efficient cooling.
Verify thermostat settings and temperature
Double-check the thermostat settings and ensure that the desired temperature is set correctly. Make sure there are no programming errors or issues with the thermostat itself.
By following these steps and guidelines, you can successfully build and install a DIY mini split AC unit. Enjoy the comfort and efficiency of a cool and well-controlled indoor environment. Stay cool!